This was very inexpensive, and I ordered it online from Miles Kimball, I believe. It came unassembled and was easy to fit together. This is so handy, even if it does topple over when I brush against it because it is so lightweight.
I always look through the debris in the pan because so often I drop something and think it has disappeared forever, and there it is. This is ESPECIALLY important when working in quarter scale.
CARPET TAPE STICKUM STICKS
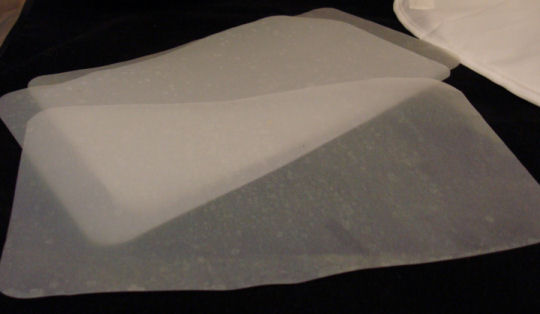
When the subject of painting tiny Santas came up, Susan Loeffler wrote me with this tip, which she got from Sue Thwaite, otherwise known as LadyBug. In order to keep tiny objects from flying away as we spray, we temporarly stick them onto these painting sticks, made from craft sticks and carpet tape.
Three craft sticks will fit almost exactly across the width of a roll of carpet tape, which is covered by wax paper. Peel off the paper on one side, lay the craft sticks on, then cut across at the end of the sticks. Originally I started cutting them apart, then realized it was sensible to leave them until I needed them. I have enough stored in this plastic bag to last me for years, probably.
Thanks for this great idea to LadyBug and to Susan for passing it on.
TACKY BEAD MAT
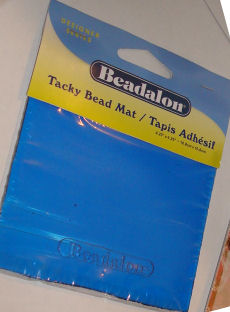
This mat has a tacky surface so that beads won't slide around!
BACON PACKAGING LINERS
We eat turkey bacon, and each package comes with the bacon slices atop a thin plastic sheet. After washing in the dishwasher, these are perfect little cutting surfaces and work and glue pads because nothing sticks to them. I keep one tucked in my tool bag; one with my flower making stuff, one with the doll stuff, one with general sculpting materials, one beside my chair in the den .... I also save them to give to people when I do a workshop.
Of course I wouldn't do heavy duty cutting on them; in that case I use my regular self-healing cutting mat.
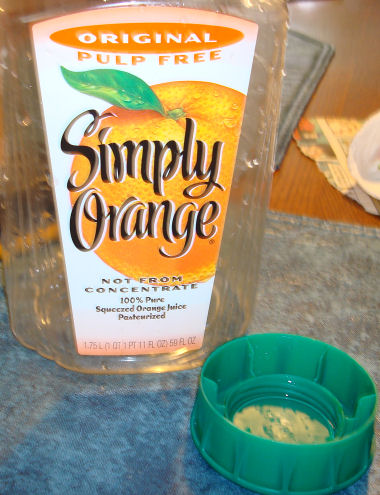
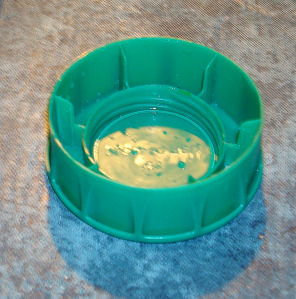
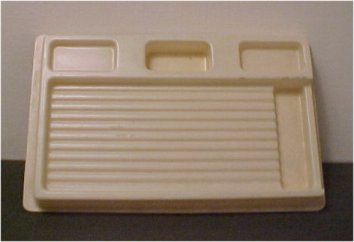
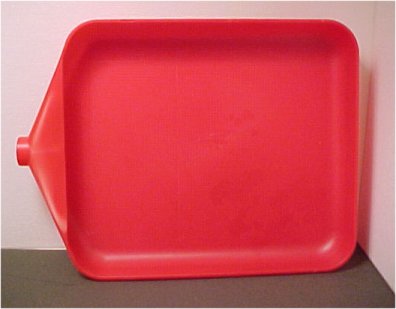
As I prepared to discard an empty juice container recently I noticed the lid.
This would make a very useful miniature palette, with the paints around the edges and the water or extender in the center.
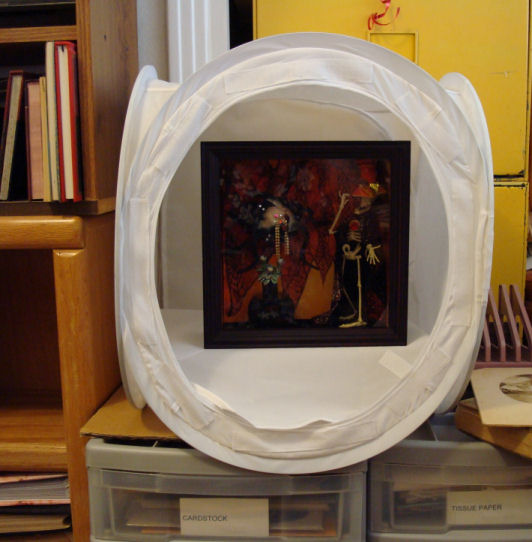
This photo cube sits behind my chair in the computer room. Here's where I take photos of finished items and projects. It can be turned for photographing wider items, too.
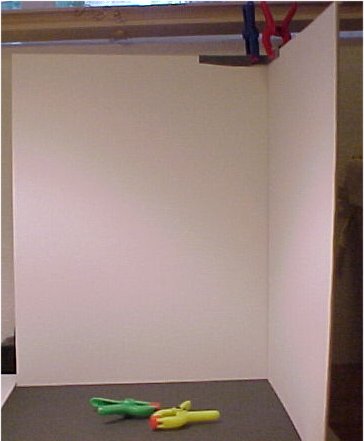
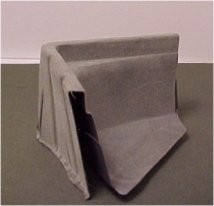
However, I also like to take pictures of things in-progress, but I simply don't have room in my work area for a professional photo cube. So, I improvise. This setup consists of two blank white painting canvases and some clips.
I cut the corner off some kind of packagiing that was lying around from an online order; tried it out, and trimmed away the excess.
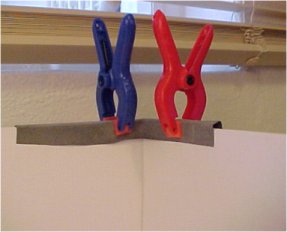
These clips were like 4 or 6 in a package at the dollar store. I can slip that cutoff corner over the top of the two canvas pieces and the clips will hold them in place. It helps to put something behind them, to brace them, as well. Works quite well when you want to take a quick photo and not include all the mess behind your mini-in-progress.
My biggest problem with this contrivance was that I kept losing my "corners" and clips. So, I labeled a plastic scrapbooking storage box PICTURETAKING, put all the elements in it, and keep it under my work desk.
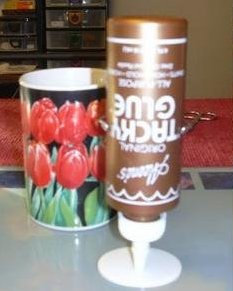
This idea of using a doll stand to make a glue holder came from Charlene in Canberra. Is that clever or what?
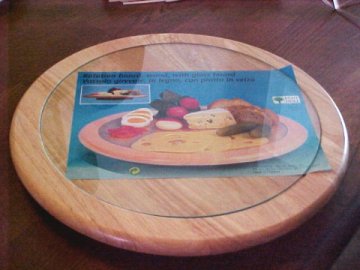
I found this revolving cheese board for $9.99 at Big Lots. It is perfect to use with large display domes, allowing the contents to be seen easily from all sides.
Also, these boards and other revolving turntables are also excellent on your work bench, if you have the room. They can neatly hold spray cans of paint and sealer, as well as certain frequently used tools, etc., but they also are excellent (covered with wax paper) holding projects that you want to see from all sides as you work. I have an old one similar to this, and when I am working on small flower arrangements I stick the vase or container atop a coffee can filled with sand and set it in the middle of the turntable. It's easier to work with something that small at eye level, plus it's easier to keep the arrangement balanced, too.
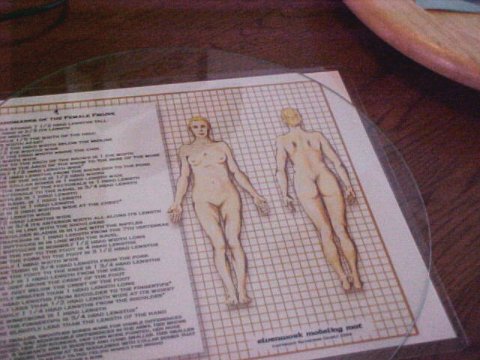
And looky here! The glass insert makes a perfect work surface over my charts for doll sculpting. It has other uses when you want a visible pattern underneath that won't get messed up as you work with clay or paint, etc.
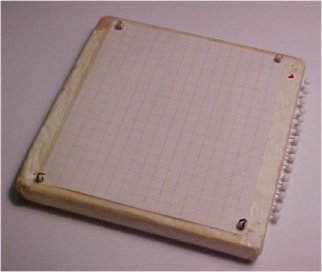
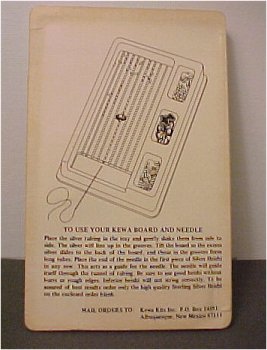
This rather beat-up pinning board has been around for a long time. It is made of old-fashioned ceiling tile (not the styrofoam kind), and is about five inches square. The entire board is covered with clear contact paper. I pin a square of graph paper and a protective piece of wax paper atop that. When the wax paper gets dirty, I just discard it and add fresh graph paper and wax paper to cover.
It is excellent for all kinds of pinning uses, from making bows to draping mini clothing and curtain treatments. A supply of long stainless steel pins is stuck into the end for convenience. I keep one of these little boards in my big tool bag, as well.
The idea for using ceiling tile in this way came from my early days when I read Judee Williamson's book, Judee's Beds. My husband had removed our old ceiling tiles in the living room when he put up new insulation, and I managed to snag a few tiles just before he hauled them all off.
He obligingly cut them into smaller pieces and I made pinning boards as little gifts for club members at that time, too.
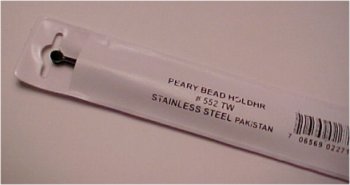
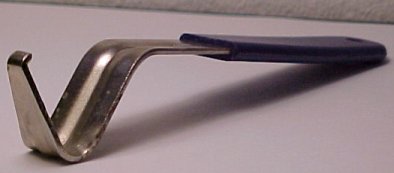
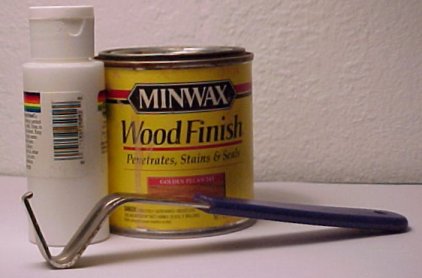
I found these bead holder tweezers at our local Harbor Freight tools recently. Their tips are actually small cups which allow you to pick up a single bead or other roundish item easily.
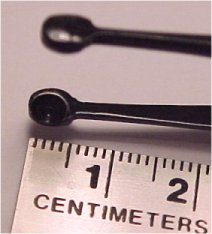
Here's a close-up. They are also good, I have found, for picking up several of the micro beads at once to deposit on a glued design area.
They were very inexpensive, less than $2.00 as I recall, so I got a pair for my work table, one for my tool tote and one for next to my chair in the den.